In this first part of the Frida on Android series, we learn how to perform a basic setup to use Frida on our Android device. We start by understanding what is Frida and what components are required by Frida to properly run on Android. Then, we proceed to perform the actual setup of said components. Finally, we make our workflow faster by embedding custom shell commands in our .zshrc (or .bashrc) file.
Prerequisites
- A rooted Android device (with
adbenabled via the developer options). - USB cable to connect your Android device to your host machine.
What is Frida?
Frida is a dynamic instrumentation toolkit that lets you hook into and modify apps logic at runtime. It is especially popular in Android security research because of its straightforward Java method hooking. Of course, native code hooking is also quite simple.
It allows researchers to bypass SSL pinning, root detection, and authentication logic, intercept network traffic, and inspect app behavior live, making it the go-to tool for mobile penetration testing and reverse engineering.
Frida for Android
There is more than one way to use Frida on Android, but in this guide I’ll show the most common setup which uses the following:
- A host machine running
Frida CLI(I’ll be using a kali-linux VM as the host). - A rooted Android device running a
Frida-Server.

As seen in the diagram, Frida-Server is running on the Android device itself. Its main responsibilities are to install hooks into the target app, as well as communicate and transfer data to the Frida CLI which runs on the host machine.
Setting Up
Host Machine
We need to install Frida CLI on our host machine.
- Open a terminal on your host machine and install
Frida CLIusingpip:
pip install frida-tools
- After installation, check your installation version by running:
frida --version
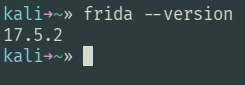
- Write this version number down. You’ll need this to download the matching Frida-Server version.
Android Device
We need to download Frida-Server from the GitHub repository of Frida and transfer it to the rooted Android device.
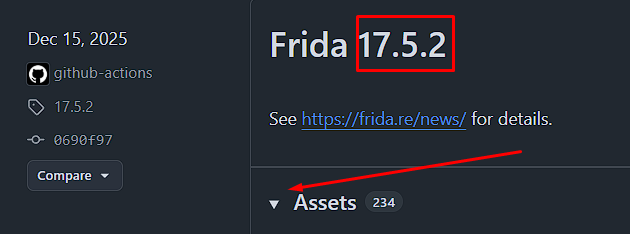
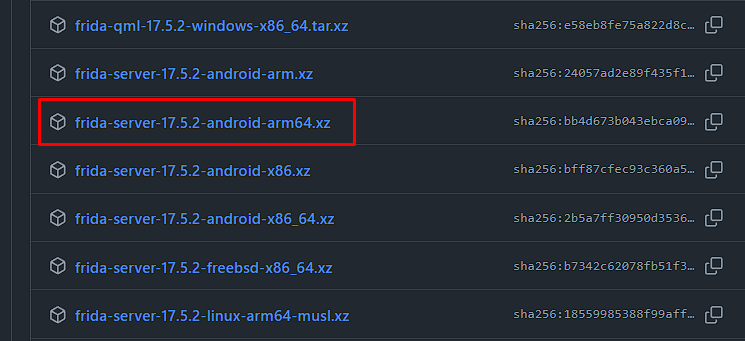
- Download
Frida-Serverfor your android device. TheFrida-Serverversion must match the version of yourFrida CLIon your host. You can get it in the release page. For example, my version is17.5.2so I need:
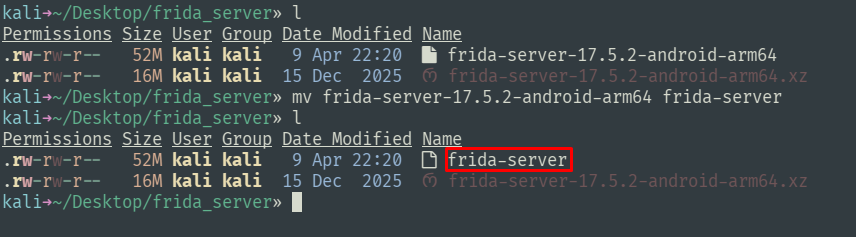
- Extract the binary from the archive and change its name to
frida-server:
- Push the file into
/data/local/tmp/on your Android device with:
adb push frida-server /data/local/tmp

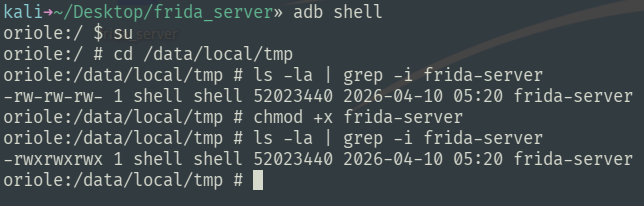
- Get into
adb shell, navigate to/data/local/tmpand give execution permissions to thefrida-serverfile:
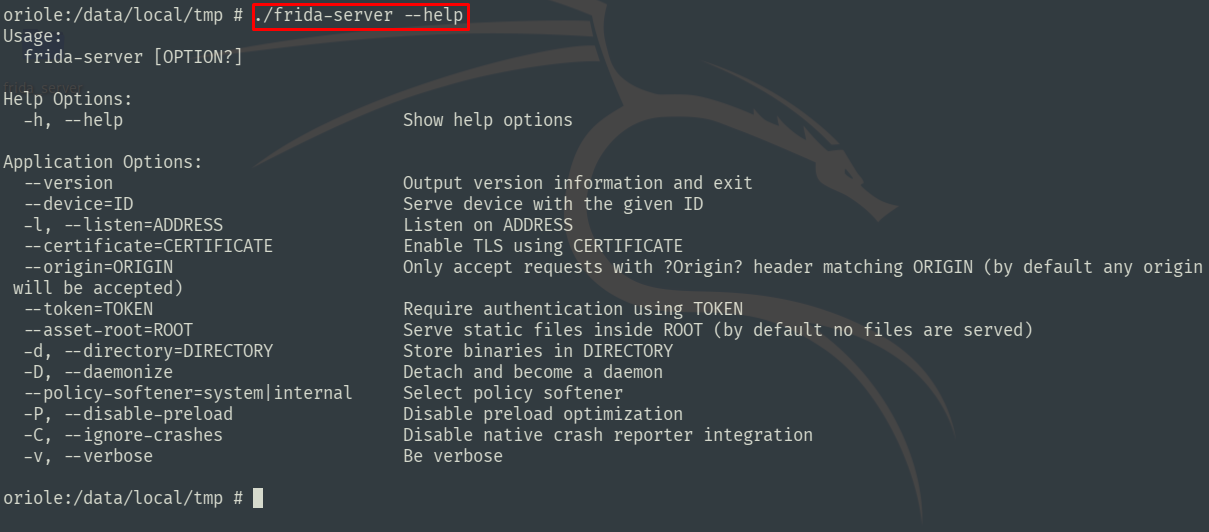
- I recommend reading through the
--helpoutput just to get yourself familiar with it:
- When you are ready, start
Frida-ServerNote that you must run it as root:
./frida-server
Testing the Setup
To test that everything works, do the following:
- Make sure
Frida-Serveris running (If your terminal is still up from the last stage, then it is). - Make sure your Android device is connected to your host machine via USB cable (Again, this should already be the case).
- On your Android device, open any app, and then from your host’s terminal run the following to attach
Fridato the frontmost app:
frida -U -F

Workflow Scripts
Now that you have Frida-Server on your Android device, you will soon find that it is annoying to always get into adb shell just to run the server or kill it. You can add the following functions to your .zshrc (or .bashrc) file to make your life easier:
Start frida-server
Run from your host machine. Starts frida-server as a background process on your Android device.
function fs() {
    local server="frida-server"

    echo "Checking $server status..."
    if adb shell "su -c 'pidof $server'" &>/dev/null; then
        echo "$server is already running."
    else
        echo "Starting $server..."

        if adb shell "su -c '/data/local/tmp/$server >/dev/null 2>&1 &'"; then
            echo "$server start command sent successfully."

            sleep 1

            # Re-check status to confirm server is actually running
            if adb shell "su -c 'pidof $server'" &>/dev/null; then
                echo "$server is now running."
            else
                echo "$server does not appear in process list. Is $server on device?"
            fi

        else
            echo "Failed to send $server start command via adb."
            echo "Ensure adb is connected, device is rooted, and $server is at /data/local/tmp with execute permissions."
        fi
    fi
}
Kill frida-server
Run from your host machine. Kills any running frida-server instances on your device.
function kfs() {
    echo "Checking for running Frida-related processes..."

    local procs=("frida-server" "re.frida.helper")
    local found_any=false

    for proc in "${procs[@]}"; do
        local pids=$(adb shell "su -c 'pidof $proc'" 2>/dev/null | tr -d '\r')

        if [[ -z "$pids" ]]; then
            echo "• $proc is not running."
            continue
        fi

        found_any=true
        echo "• Found $proc with PIDs: $pids"

        for pid in $pids; do
            echo "  → Killing $proc (PID $pid)..."
            if adb shell "su -c 'kill -9 $pid'" &>/dev/null; then
                echo "    ✓ Killed $proc (PID $pid)"
            else
                echo "    ✗ Failed to kill $proc (PID $pid)"
            fi
        done
    done

    if [[ "$found_any" == false ]]; then
        echo "No Frida-related processes were running."
        return
    fi

    sleep 1

    local still_running=false
    for proc in "${procs[@]}"; do
        if adb shell "su -c 'pidof $proc'" &>/dev/null; then
            echo "Warning: $proc may still be running."
            still_running=true
        fi
    done

    if [[ "$still_running" == false ]]; then
        echo "All Frida-related processes appear to be terminated."
    fi
}
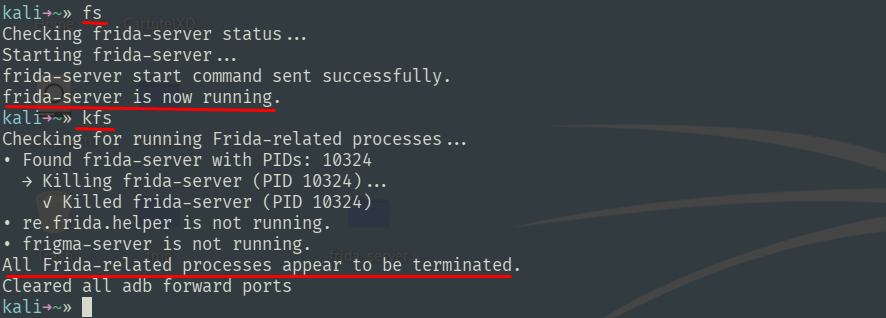
Example
In the following example I demonstrate how these scripts can help me easily start and stop frida-server from my host machine without manually entering adb shell:
Conclusion
In this post, we covered the basics of setting up Frida for Android security research. We installed Frida CLI on our host machine, deployed Frida-Server to a rooted Android device, verified that everything works by attaching to a running app, and set up convenient shell scripts to manage Frida-Server from the host. With this foundation in place, we are ready to start writing actual Frida scripts.